
In this post we focus on how to install Stable Diffusion on these 3 steps:
1. Simple steps to install Stable Diffusion on your Windows PC (Automatic 1111 GUI).
2. Installing Stable Diffusion V2.1 on Automatic 1111.
3. Check out some AI-generated art in Stable Diffusion.
Let’s get started
1. Simple steps to install Stable Diffusion on your Windows PC (Automatic 1111 GUI).
Step 1:
Go to this link: https://www.python.org/downloads/release/python-3106/ and install Python 3.10.6
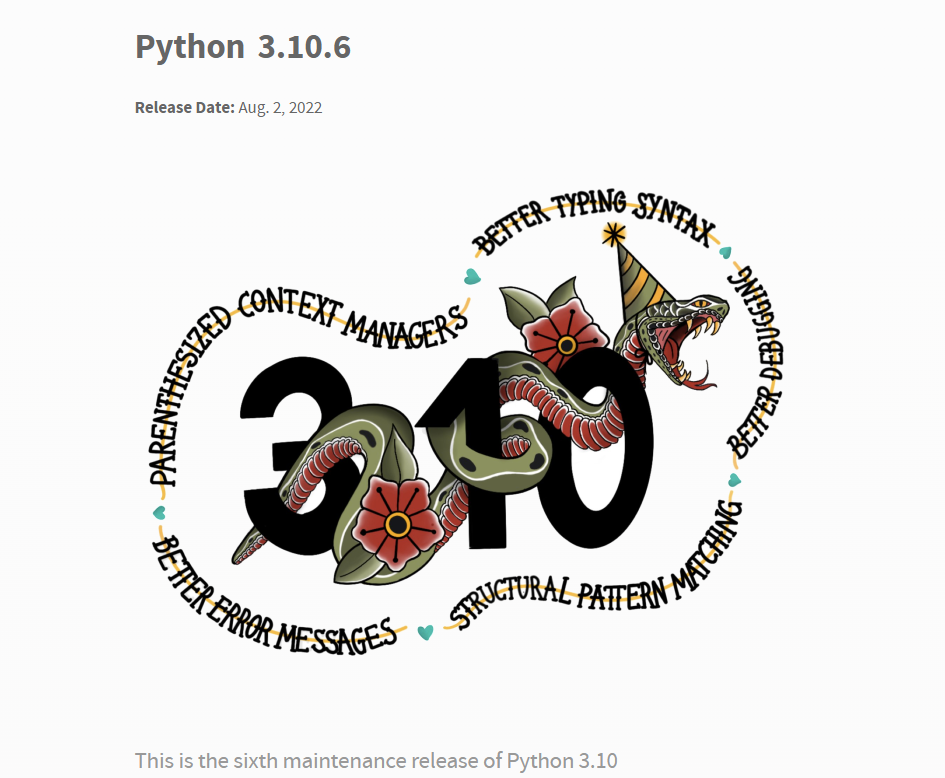
Do not install the latest version of Python.
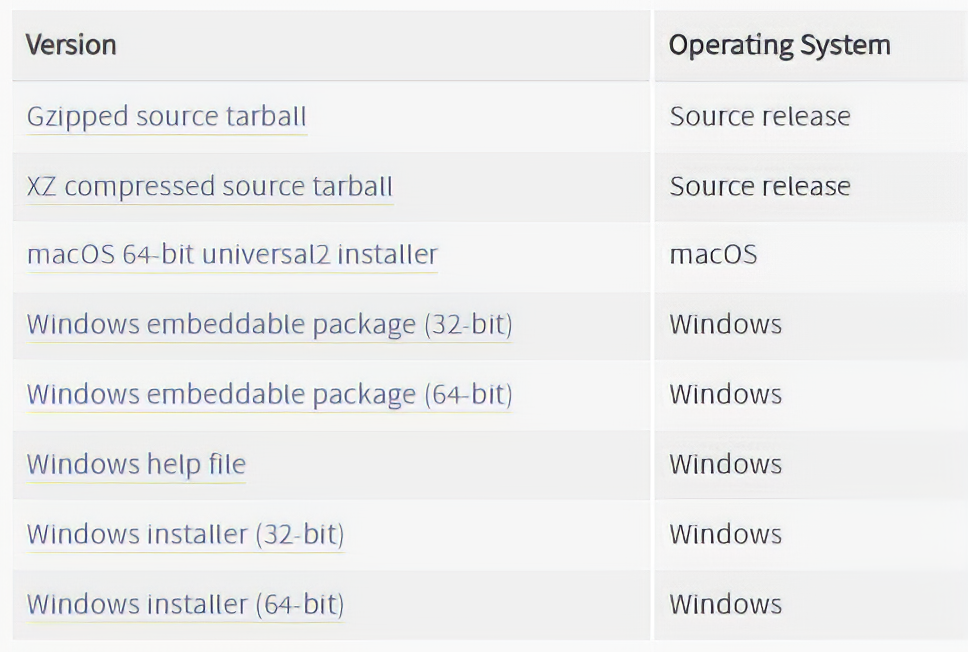
Then, Down on the same page, pick the Windows Installer (64-Bit), download and install.
During installation remember to tick mark “Add Python 3.10 to Path”
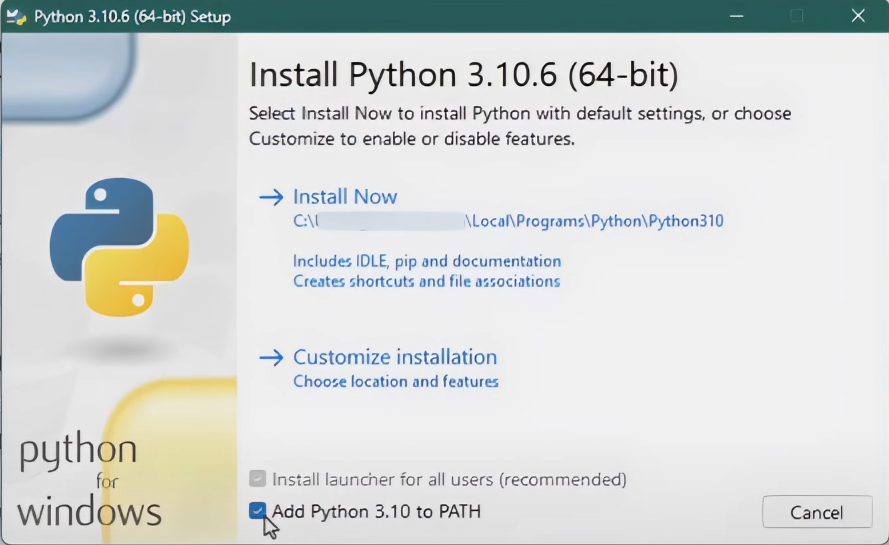
The installation may take some time, depending on your computer speed. Once the setup is successful, click on close.
Step2:
We now install Git. Don’t change any settings for this installation, and click next with the default setting selected.
https://git-scm.com/download/win

Wherever you want to install Stable Diffusion, go to that location, right-click, create a new folder and name it “Stable Diffusion”. Now go into that folder, right-click and click open in the terminal. In the terminal, type
git clone https://github.com/AUTOMATIC1111/stable-diffusion-webui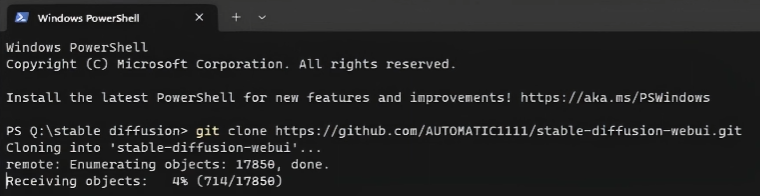
Press Enter and wait for it to complete the process. Once the process is completed, close the terminal, and you can see a folder called “stable diffusion webui”.
Before proceeding further, click on Stable Diffusion v1.5 from this link below: https://huggingface.co/runwayml/stable-diffusion-v1-5
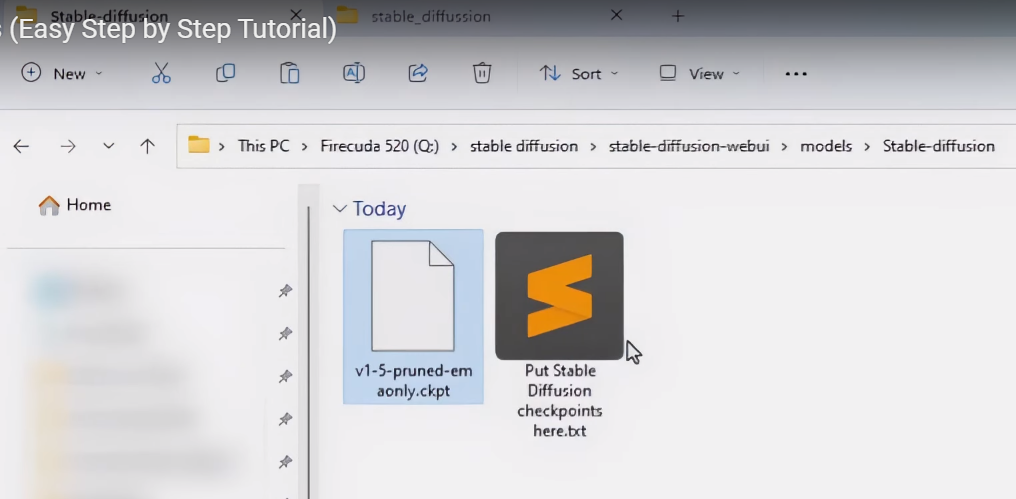
And download and save file name “v1-5-pruned-emaonly.ckpt”;

Go inside the folder Stable Diffusion webui;
Find the folder “models” and then folder named “Stable Diffusion”;
Copy the downloaded file “v1-5-pruned-emaonly.ckpt” and paste it (in the Stable Diffusion folder);
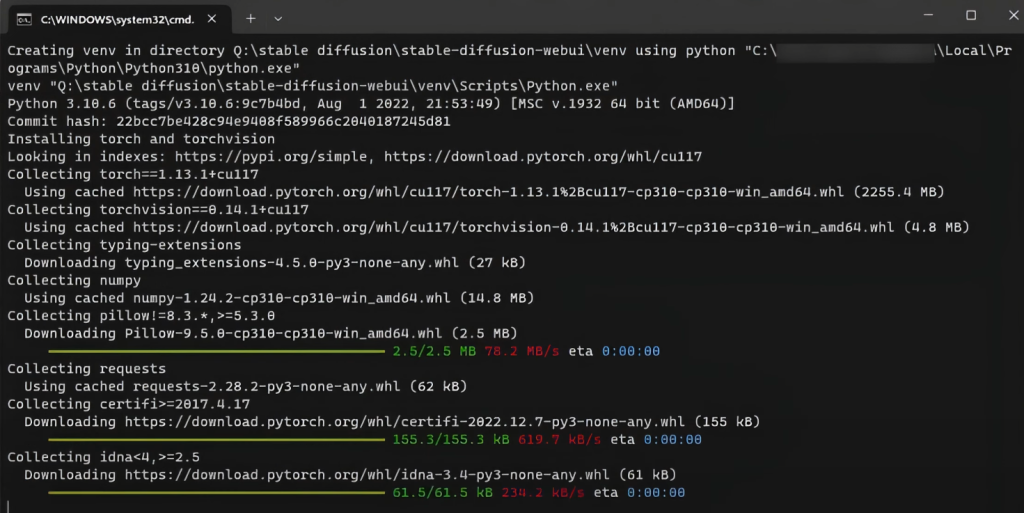
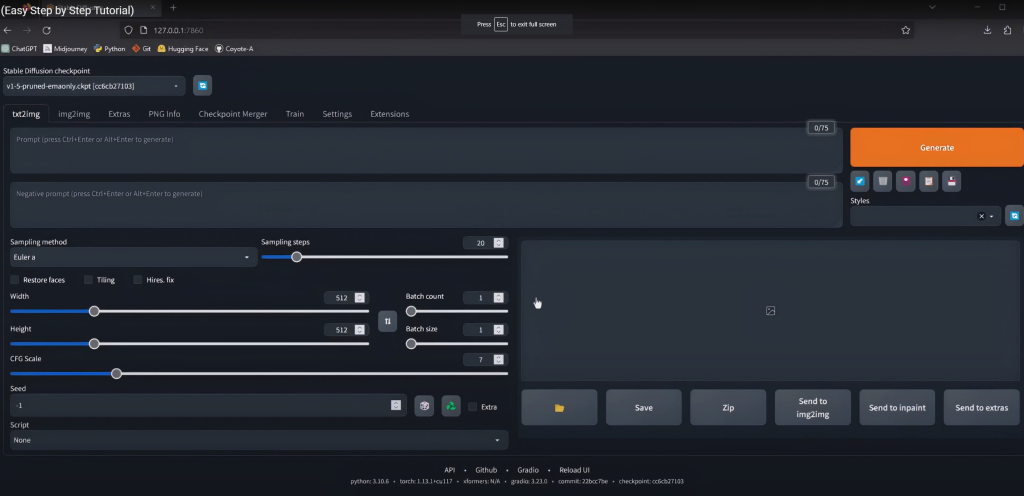
Now go back to the main folder and find the file named “webui.bat”, Click on it, this will start the installation and may take some time. Once the installation is complete, you can see this IP URL.
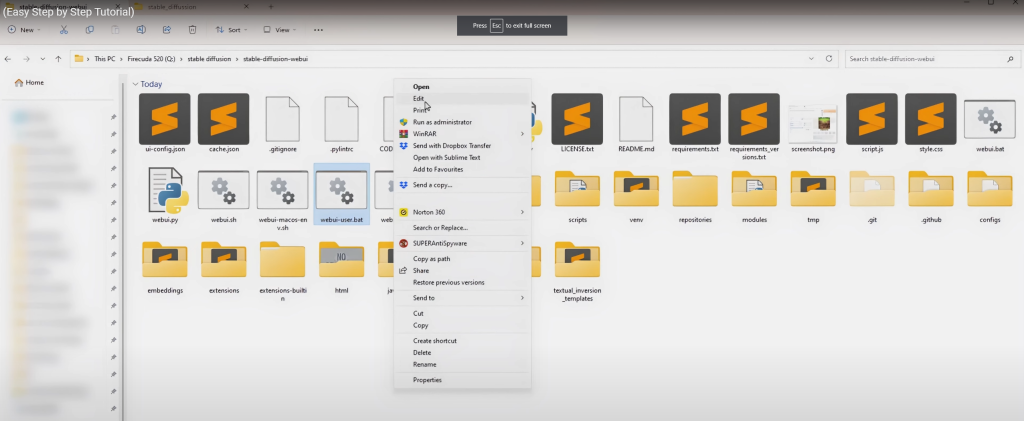
You can now close the terminal. We need to do one more small step before we can on Stable Diffusion in the browser. Back to the main folder, you’ll find a file named “webui-user.bat”, right click on that, go to “show more options”, and then click on “edit”.
Clicking on edit should open the file in notepad, now go right at the top and add this line :
“git pull”
Save and close.
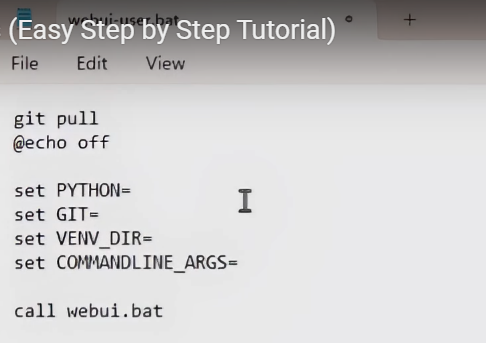
What this will do is whenever you open Stable Diffusion, it will check if there are any updates on GitHub; it will pull the updates into your local folders and keep them updated. This way, you don’t have to update Stable Diffusion manually.
Whenever you need to run Stable Diffusion, you should left-click the “webui-user.bat” file. This will open a terminal and load everything. Once everything is loaded, you keep the terminal open in the background and go to the web browser and type in the IP address given in the terminal.

If you have reached this stage, you have successfully installed and are running Stable Diffusion version 1.5 on your local machine.
2. Installing Stable Diffusion V2.1 on Automatic 1111
Now we proceed to install Stable Diffusion version 2.1 on automatic 1111.
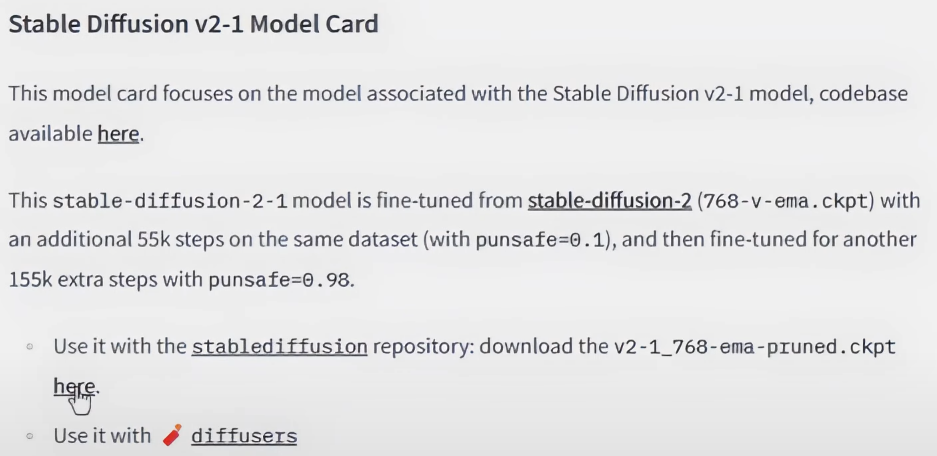
Here we have two models. The link to both models is given in the description below. One model generates images in 512 into 512 pixels. For this post, we install v2.1, which creates images in 768 by 768 pixels. You will need a higher video memory and RAM to have the version which renders higher pixels.
First, open the hugging page link and download the version 2-1_768-ema-pruned.ckpt file.
Stable Diffusion v2.1: https://huggingface.co/stabilityai/stable-diffusion-2-1
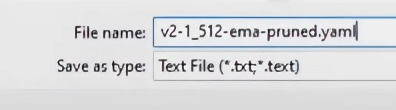
After that, we need the config file web page. To save right, click on the web page and click “save as”. Rename to “v2-1_512-ema-pruned.yaml”.
Stable Deffusion v2.1 Config Page: https://raw.githubusercontent.com/Stability-AI/stablediffusion/main/configs/stable-diffusion/v2-inference-v.yaml (rename to v2-1_768-ema-pruned.yaml)
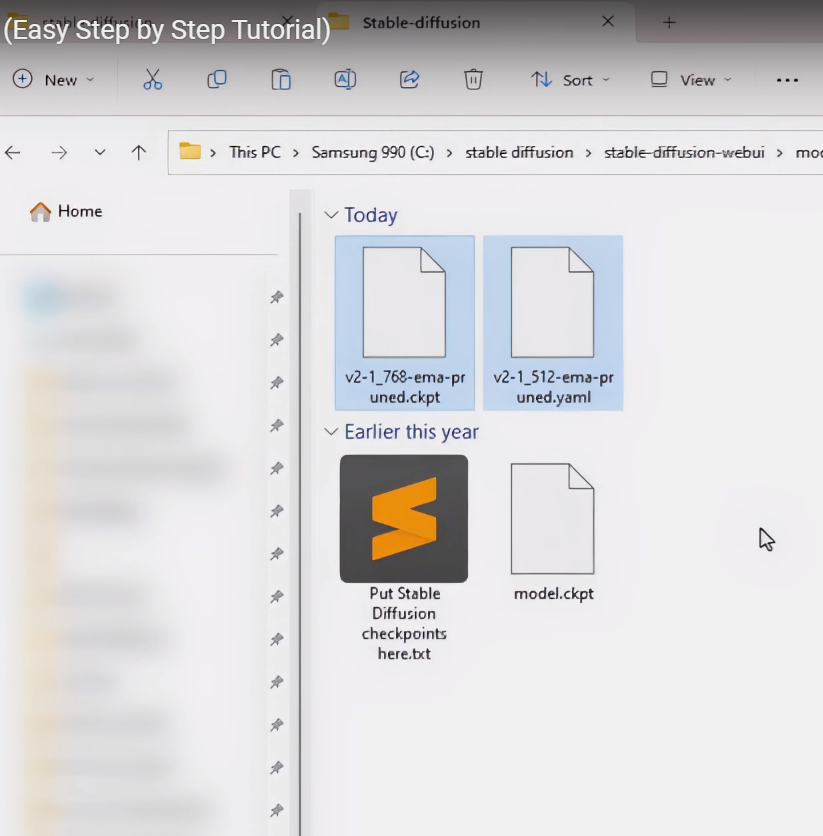
Now copy two downloaded files and paste them into “Models” folder of Stable Diffusion.
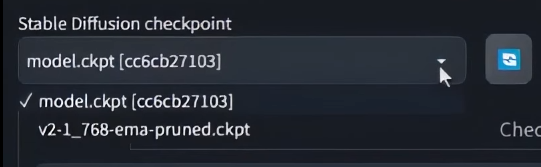
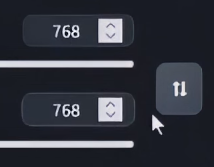
Go to the Stable Diffusion folder and run it. From the drop-down, select the version 2.1 model. Also, make sure to change the resolution from 512 to 768.
After you load the version 2.1 model on Automatic 1111 and try to generate an image, you might get an error, and the image generation will not work.

To fix this, go to settings, Stable Diffusion on the left. Scroll right at the bottom and tick “Upcast cross attention layer to float32”, Apply settings and reload UI.

Once reloaded the image generation should now work.
3. Some AI-generated art in Stable Diffusion
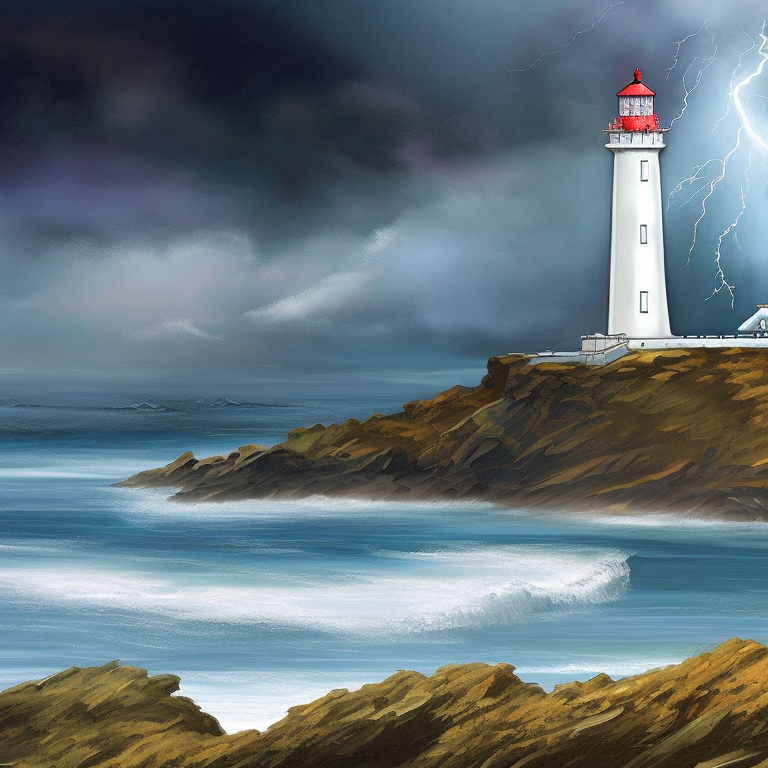
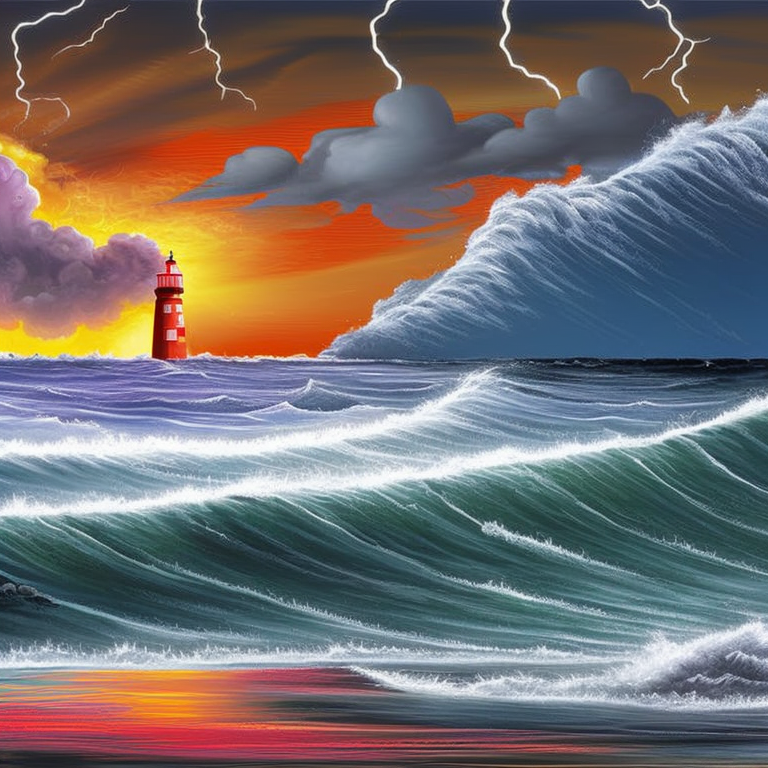
Here we are showing 5 positive prompts and 1 standard negative prompt. As always, you can download the images and prompts in the link below.
Prompt 1: A Lighthouse

Prompt2: Mystical Fairyland


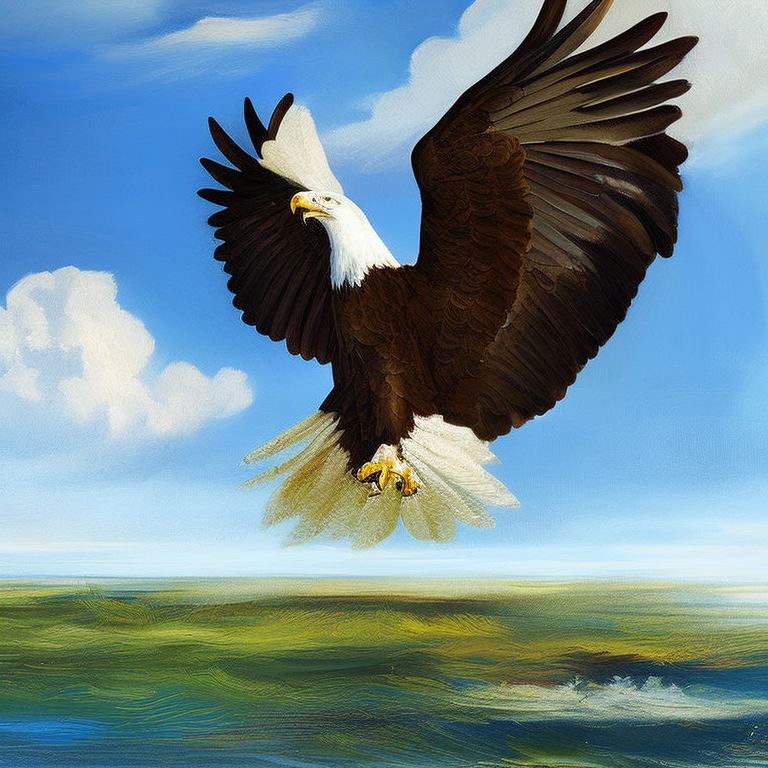
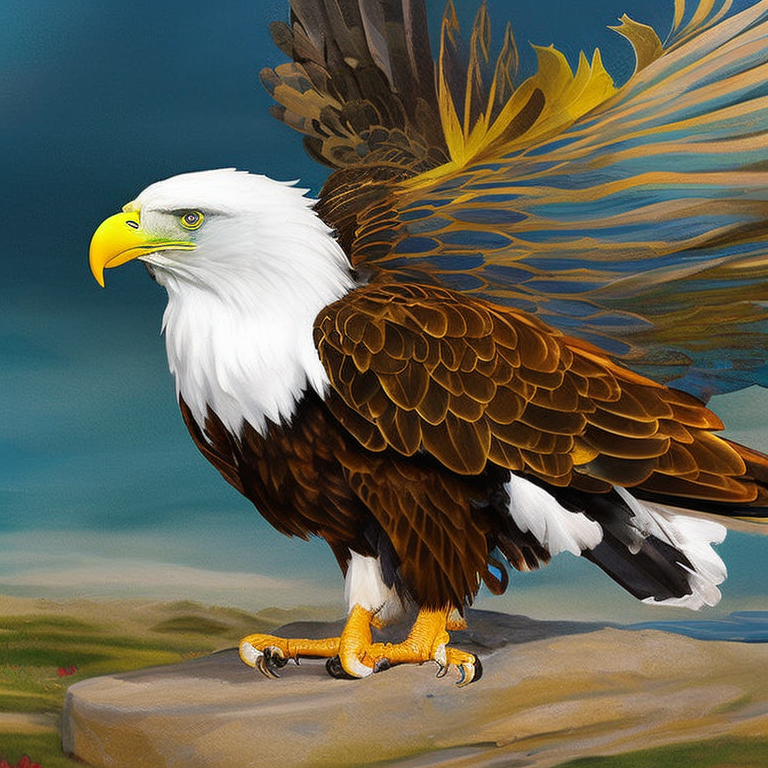
Prompt3: Illustration of An Eagle
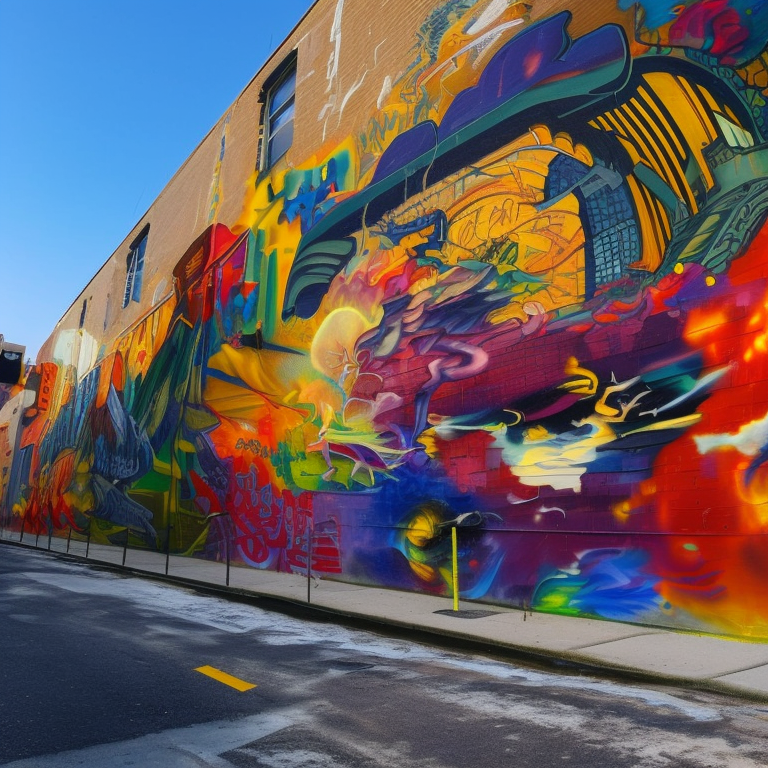
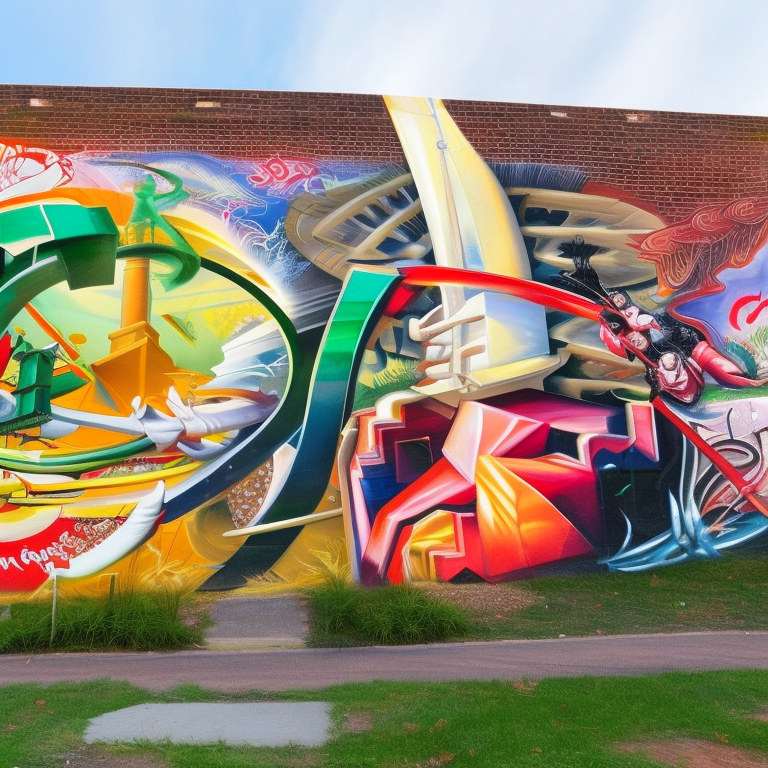
Prompt4: A Graffiti Art on the Wall
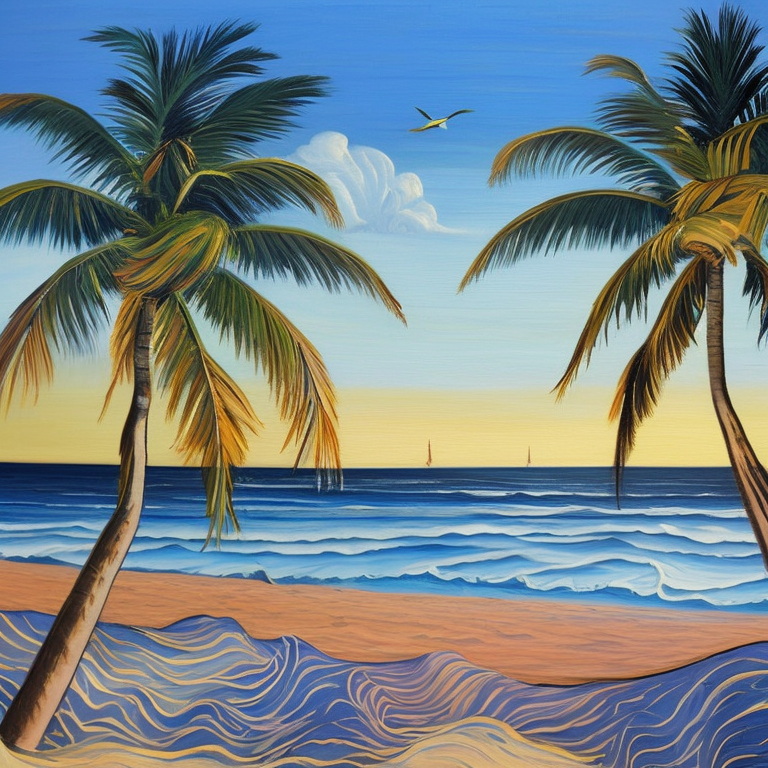
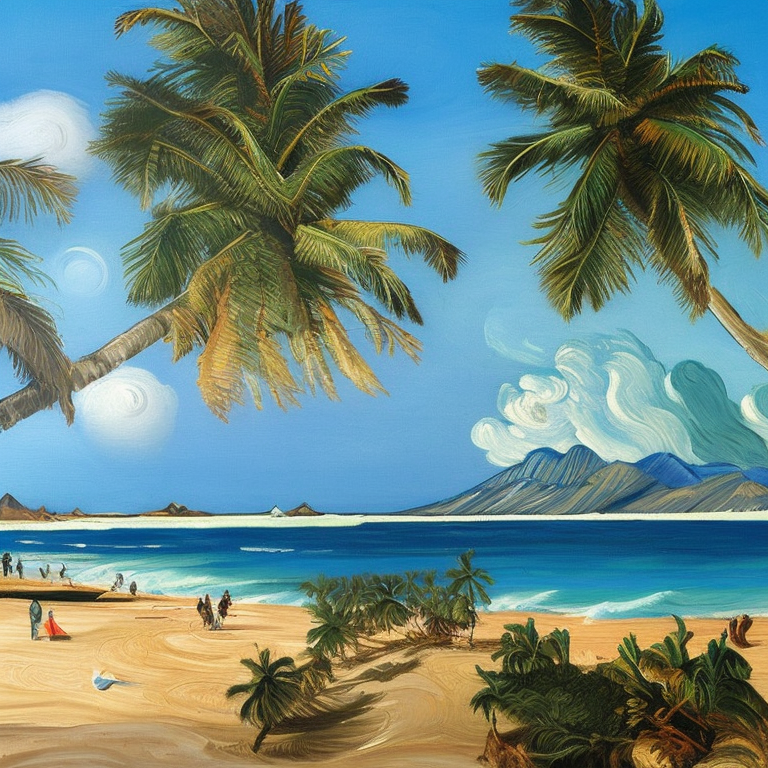
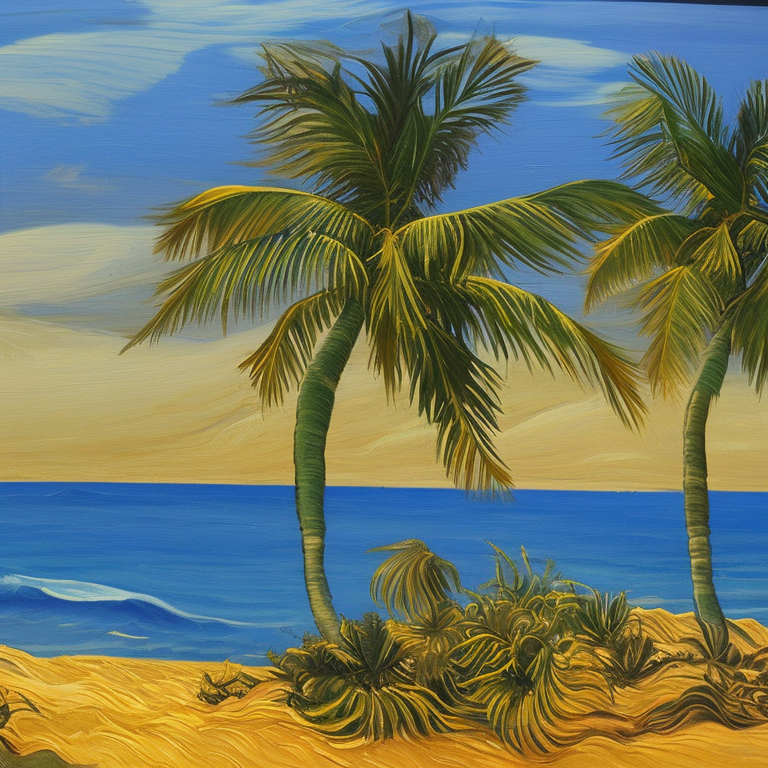
Prompt5: A Landscape of A Beach
Conclusion
We hope this tutorial was simple enough for installing Stable Diffusion on your windows. As you can notice, prompts for Stable Diffusion are very different and challenging compared to MidJourney. In an upcoming post, we will show how to upscale all AI-generated art without outpainting and free of cost in Stable Diffusion.
Relevant Links / Commands:
Python 3.10.6: https://www.python.org/downloads/release/python-3106/
Git: https://git-scm.com/download/win
Git Clone Automatic 1111 Command: git clone https://github.com/AUTOMATIC1111/stable-diffusion-webui
Stable Diffusion v1.5: https://huggingface.co/runwayml/stable-diffusion-v1-5
Stable Diffusion v2.1: https://huggingface.co/stabilityai/stable-diffusion-2-1
Stable Diffusion v2.1 Config Page: https://raw.githubusercontent.com/Stability-AI/stablediffusion/main/configs/stable-diffusion/v2-inference-v.yaml (rename to v2-1_768-ema-pruned.yaml)
Stable Diffussion v2.1 Base: https://huggingface.co/stabilityai/stable-diffusion-2-1-base
Stable Diffusion v2.1 Base Config Page: https://raw.githubusercontent.com/Stability-AI/stablediffusion/main/configs/stable-diffusion/v2-inference.yaml(rename to v2-1_512-ema-pruned.yaml)
You can download images here.